Hardface weld, also called hardsurfacing, is a wear resilient weld that helps prolong the life of a component or surface. Hardface weld is often used in abrasive grinding applications like, shingles, C&D and organic waste to protect the base steel from wear. On a Rotochopper grinder you can find hardface weld on sizing screens, tooth mounts, rakers, rotors, and other surfaces that receive a great deal of wear.
Supplies & Tools
For this process you will need a wire or stick welder, hardfacing wire or rods, wire or rods for filling or rebuilding the surface prior to hardfacing, a hand-held grinder, wire cup for grinder, gas if using a wire feed welder, shielding gas if recommended for your welding process.
Safety & Settings
Follow safety precautions as outlined in your owner’s manual including lock-out/tag-out and wearing necessary. In this tip sheet we will not go into details for setting your welder. Always check with your welding supply vendor or other experts to make sure you have the proper settings.
 Step 1:
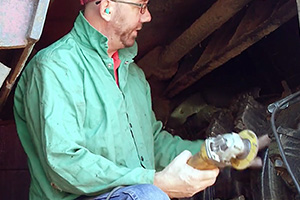
Thoroughly clean the area with a grinder to remove any burrs and remnants of the hardfacing weld. Remove all oil, dirt, grease, and other contaminants. Ground your welder on the rotor.
 Step 2:
Set the raker profile template beside the raker to check its shape. The base steel should be within 1/4” of the proper profile. If the base steel is worn beyond that, you will need to restore the base steel to its original shape before adding any hardfacing weld.
Because you do not want to apply more than one layer of hardface weld, you will want to build up the surface with weld until it is restored to its original shape. You don’t want to use hardfacing for this as it does not stack well.
 Step 3:
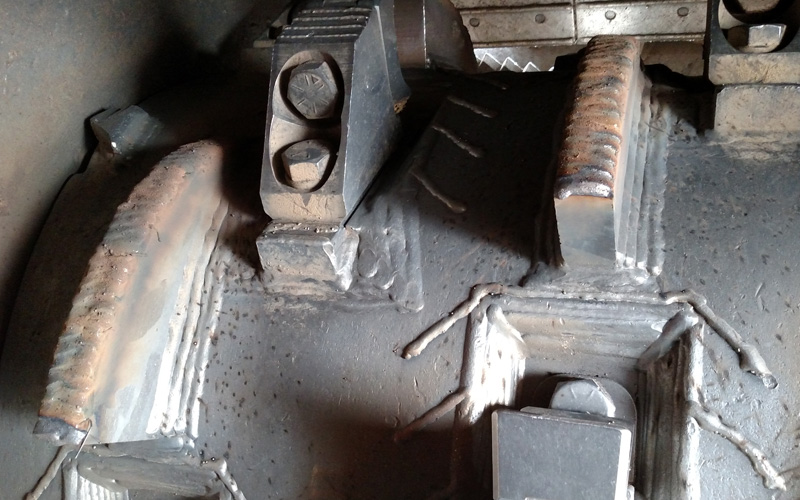
Apply the hardfacing. Applying hardface weld is different from a typical weld in that you want to build up the weld on the surface rather than penetrating deep into the steel. Remember: you want to keep abrasion away from the base steel, so you want the weld raised above the surface.
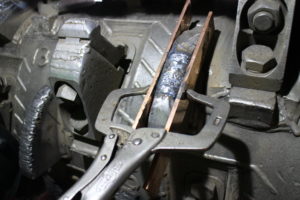
You may also want to use copper plates as a template to control the weld area. Secure a copper plate on each side of the raker to ensure the hardfacing is placed directly on top of the raker.
Hardfacing is often applied as a series of beads. But on a raker, the hardfacing should form a single smooth surface.
*The base steel should be at least room temperature before you begin. In cold environments, you will need to pre-heat the steel before beginning.
 Step 4:
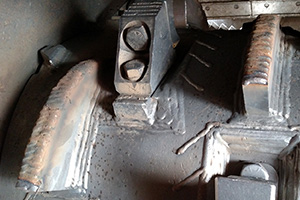
When you are done, check the dimensions and profile of the weld. Set the raker profile template next to the weld and verify that the raker meets the proper tolerance. It should be within 1/8”. Clean any excess weld if necessary & repeat these steps for each raker.
It works best to work your way around the rotor doing one raker per row and then move to the next row instead of doing a full row at a time.
Remember that the rakers are designed to control the depth of cut each tooth can make for smooth, controlled grinding. It is important to make sure each raker has a smooth layer of hardfacing and conforms to the proper profile. Making sure each raker fits a tight tolerance will help to maintain rotor balance, which is critical for avoiding vibration and damage.
To learn more watch the Hardfacing Weld Rotochopper University Tutorial Video, and subscribe to our YouTube channel to view all of our training videos.
View & Print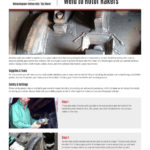 the Rotochopper University Tip Sheet.